Getting rid of an older gaming computer is always a difficult process. We think of the (let’s be honest) thousands of hours we’ve spent in our favourite games, and the very idea of throwing a system away can hurt. Even if we manage to move all the data over to a newer platform, the process of saying goodbye is never easy. Thankfully, with a little work, an older system can still prove a viable and powerful gaming machine.
Specifically, an older gaming desktop or laptop can be hugely useful in the land of emulation. There are thousands of games available freely and legally by taking this route, and the preparation process can be completed in less than a day.
What Can an Emulation Machine Do?
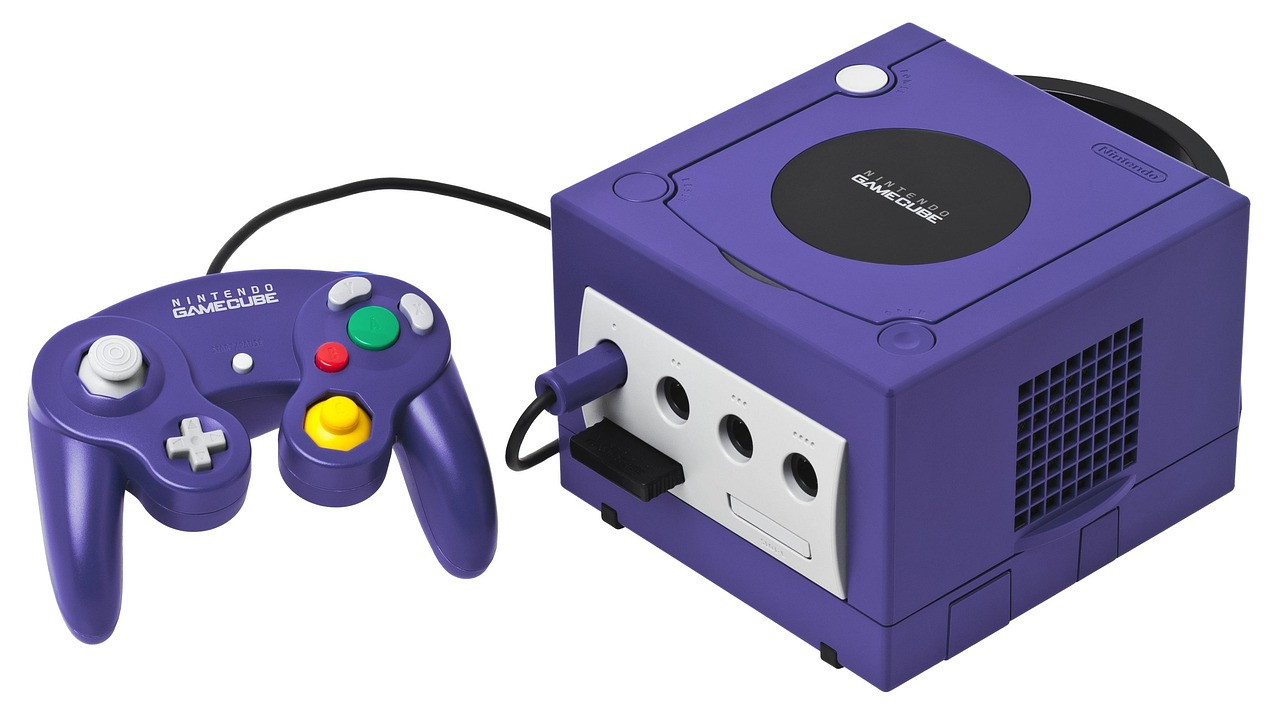
The capabilities of emulation depend on how powerful the system is, so there’s no one answer. In general, though, if you’re looking at just moving from a system to a newer one, then you probably aren’t gaming on something like an old Windows XP computer. It’s generally a safe bet that when it comes to emulation, any system from the last ten or so years will easily be able to handle emulation of games of the sixth generation and before. This means the PS2, GameCube, original Xbox, and everything before that era.
Systems of this level of power will also still be compatible with many other, less hardware-demanding forms of modern interactive entertainment. If you play casino games in New Zealand or anywhere else alongside regular video games, for example, you’ll be ready to go. Titles like Mega Moolah and Joker Millions are developed to work perfectly on older and less powerful mobiles, so on any reasonable computer, you can expect full-speed play. The same applies to social media, browsing, and general streaming duties.
Preparing Your System
The first simple step in prepping your system is to physically clean it out. This prevents thermal throttling issues, which can become a problem on older computers as they inevitably clog with dust. Managing dust is as simple as unplugging a system, taking the side off via screws in the back, and blowing the dust out with a can of compressed air. Just be sure to do this outside (on a dry day) and not to let the fans spin as you clean, as these can create issues.
Next up is cleaning the software and drives. The best way to do this is to back up any data you want saved and then completely reformat the system. If you don’t have your Windows key available or otherwise can’t take this route, then deleting all unnecessary data can help. You’ll want to take special care to remove unnecessary programs from startup, and run defragmentation if you’re using a mechanical hard drive.
If you’re even unsure if something can be deleted, Google what it is, so you don’t remove something you need. If you’re unsure where storage is being used, free programs like WinDirStat can help provide a visual representation of data usage.
The final and even easier steps are to download the emulators and the games, called ROMs. For emulators, RetroArch can be great as an all-in-one solution. ROMs can be found through Google searches, which you can store in platform-specific folders. Just remember to only download games you already own, or which are no longer available to buy. From here, it’s just a matter of setting up controllers, configuring your screen, and jumping into the huge library of titles that every gamer misses. Whether you want to re-explore old favourites or catch up on classics you missed, your old system should have you set for years to come.
